
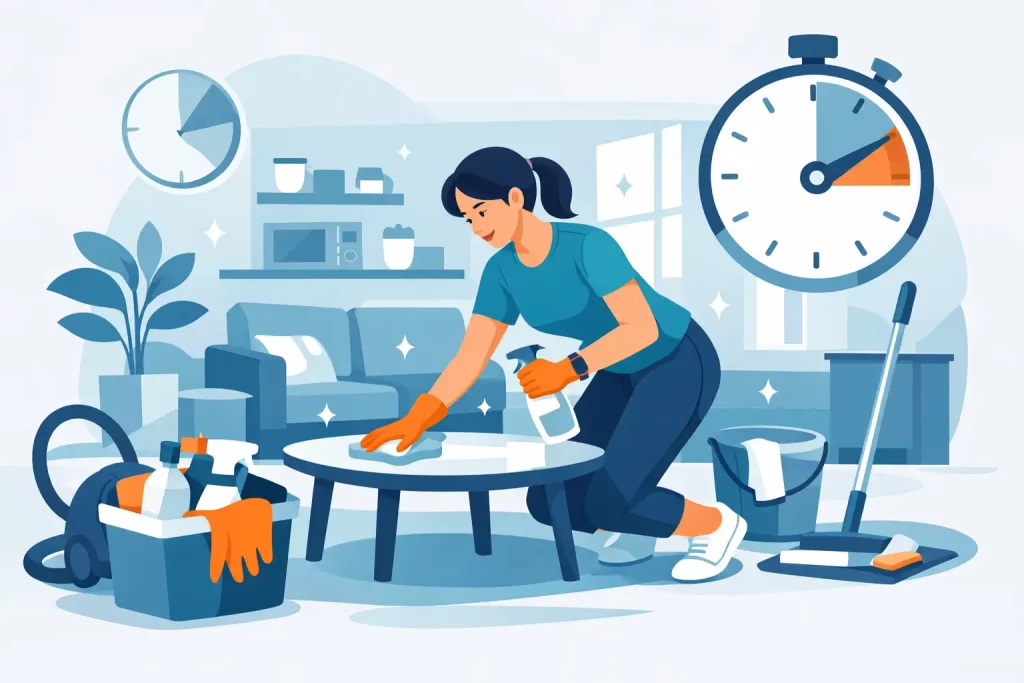
A clean apartment feels different when you can see the floors, use the kitchen counter, and sit down without noticing another chore. The challenge is not usually knowing how to clean. It is finding a practical system that prevents one task from turning into an entire afternoon. If you are wondering how to clean apartment efficiently, the answer is to work in a consistent order, keep supplies close, and focus first on the areas that affect health and daily comfort.
This plan is designed for a standard apartment and can usually be completed in about 90 minutes. Timing depends on the apartment’s size, the number of people and pets in the home, and how long it has been since the last thorough cleaning. A bathroom with built-up soap scum or a kitchen with neglected spills will need more time, and that is normal.
Set Up Before You Start Cleaning
Efficiency starts before you touch a sponge. Walk through the apartment once with a laundry basket or tote and pick up items that belong in another room. Put dishes in the sink or dishwasher, collect trash, and return obvious clutter to its place. Do not start organizing closets, drawers, or paperwork during a cleaning session. Those are separate projects and can quickly take over your schedule.
Bring one cleaning caddy from room to room. Keep it simple: an all-purpose cleaner, bathroom cleaner, glass cleaner, microfiber cloths, a scrub brush or sponge, disinfecting wipes or disinfectant, and trash bags. Add a vacuum, broom, or mop based on your flooring. Having every item within reach prevents the repeated trips that make cleaning feel longer than it is.
Start a load of laundry if needed, open a window for ventilation when weather permits, and set a timer. A timer gives each room a clear limit and makes it easier to keep moving instead of perfecting one small area.
How to Clean Apartment Efficiently, Room by Room
The most dependable approach is to clean from top to bottom and from dry work to wet work. Dusting after vacuuming only puts debris back on a clean floor. Scrubbing the bathroom first without letting cleaner sit means more effort later. Let the products do part of the work for you.
1. Begin With the Bathroom
Apply bathroom cleaner to the toilet bowl, sink, tub, and shower walls before you begin wiping. Let it sit for several minutes according to the product directions. That contact time helps loosen soap scum, toothpaste residue, and everyday grime without aggressive scrubbing.
While the cleaner works, remove used towels and empty the trash. Wipe the mirror, faucet handles, light switches, and door handle with a clean microfiber cloth. Then scrub and rinse the sink, shower, and tub. Clean the toilet last, using a separate cloth or disposable wipe for the exterior, seat, lid, and flush handle. Finish by sweeping or vacuuming the floor, then mop it on your final pass through the apartment.
2. Reset the Kitchen With a Clear Sequence
A kitchen can look messy fast, but it responds well to a methodical routine. Start by loading the dishwasher or washing dishes. Clear the counters completely, then spray them along with the stovetop and sink. Wipe upper surfaces first, including cabinet handles, appliance handles, and the front of the refrigerator.
Pay attention to the places hands touch most often: the microwave buttons, faucet handle, coffee maker controls, and trash can lid. Clean crumbs and food debris from the counter edges and stovetop before using a damp cloth. For the sink, scrub from the sides down to the drain, rinse thoroughly, and dry the faucet so water spots do not immediately return.
Do not try to deep-clean the oven, refrigerator interior, or every cabinet during a standard apartment clean unless they truly need it. Those jobs deserve dedicated time. For routine upkeep, clean visible surfaces, manage dishes, and leave the kitchen ready for the next meal.
3. Dust Living Areas From High to Low
In the living room and bedroom, begin at the highest surfaces: ceiling fan blades, shelves, picture frames, and lamps. Work downward to tables, electronics, baseboards, and furniture arms. A slightly damp microfiber cloth captures dust better than a dry paper towel and creates less waste.
Use a gentle touch around screens and electronics. Never spray cleaner directly onto a television, laptop, or remote control. Spray the cloth instead, then wipe carefully. Remotes, light switches, door handles, and phone charging areas are small details, but cleaning them makes the apartment feel genuinely cared for.
Straighten cushions, fold throws, and clear visible clutter as you move. This is not just about appearance. Open, clear surfaces are easier to wipe during the next cleaning, which saves time over the long run.
4. Make the Bed and Refresh the Bedroom
Making the bed takes only a few minutes and changes the entire look of a bedroom. If you are changing sheets, strip the bed first and put the linens directly into the laundry. Dust nightstands and dressers, wipe lamp switches and drawer pulls, and place clothes in the closet or hamper.
Avoid piling clean clothing on a chair or the foot of the bed. It creates visual clutter and turns a clean room back into a stressful one. If you do not have time to put every item away, use one designated basket and deal with it later rather than spreading items across the room.
5. Vacuum or Sweep Every Floor in One Pass
Save floors until the end. By then, dust, crumbs, and loose debris from every surface have settled where they belong. Vacuum carpets and rugs slowly enough for the machine to pick up dirt, especially along baseboards, under tables, and near entryways.
For hard floors, sweep or vacuum first, then mop. Use a cleaner suitable for the floor type, especially if you have hardwood, laminate, or natural stone. Too much water can damage certain surfaces, so a well-wrung mop is often better than a soaking wet one.
6. Handle High-Touch Areas Before You Leave
A visually clean apartment is good. A clean and healthy apartment is better. Take a final few minutes to disinfect high-touch points such as front door handles, cabinet pulls, light switches, toilet flush handles, and faucet handles. Follow the label instructions for the disinfectant, including the required surface contact time.
Disinfecting is most useful after cleaning away visible soil. A disinfectant cannot work as intended through layers of grease, dust, or food residue. This small distinction makes a real difference in bathrooms, kitchens, and shared apartments.
7. Finish With Trash, Air, and a Quick Check
Take out the trash, replace liners, and do one final walk-through. Look for obvious marks on mirrors, leftover clutter on counters, or items you brought into a room and forgot to put away. Avoid creating a new task list unless something is urgent. The goal is a clean, comfortable apartment, not an endless inspection.
A light fresh-air reset can help, but skip heavily scented products if anyone in the home is sensitive to fragrances. Clean air comes primarily from removing trash, wiping food surfaces, managing dust, and keeping bathrooms dry enough to discourage mildew.
Keep the Apartment Easier to Clean Next Time
The fastest cleaning routine is the one that does not start from zero. Spend five to ten minutes each day handling dishes, wiping kitchen counters, hanging up towels, and putting items back after use. Then choose one weekly time for the full apartment routine. Consistency prevents dirt from becoming buildup and keeps your cleaning session manageable.
For busy schedules, recurring professional service can be a practical option rather than a luxury. A trained, insured, and bonded cleaning team can handle the detailed work on a dependable schedule, giving you a healthier space and more time for the rest of your life. JPR Cleaning can provide a free estimate for apartment cleaning that fits your needs.
A clean apartment should give you room to breathe, not another reason to feel behind. Set the timer, follow the order, and let each completed room build momentum.