
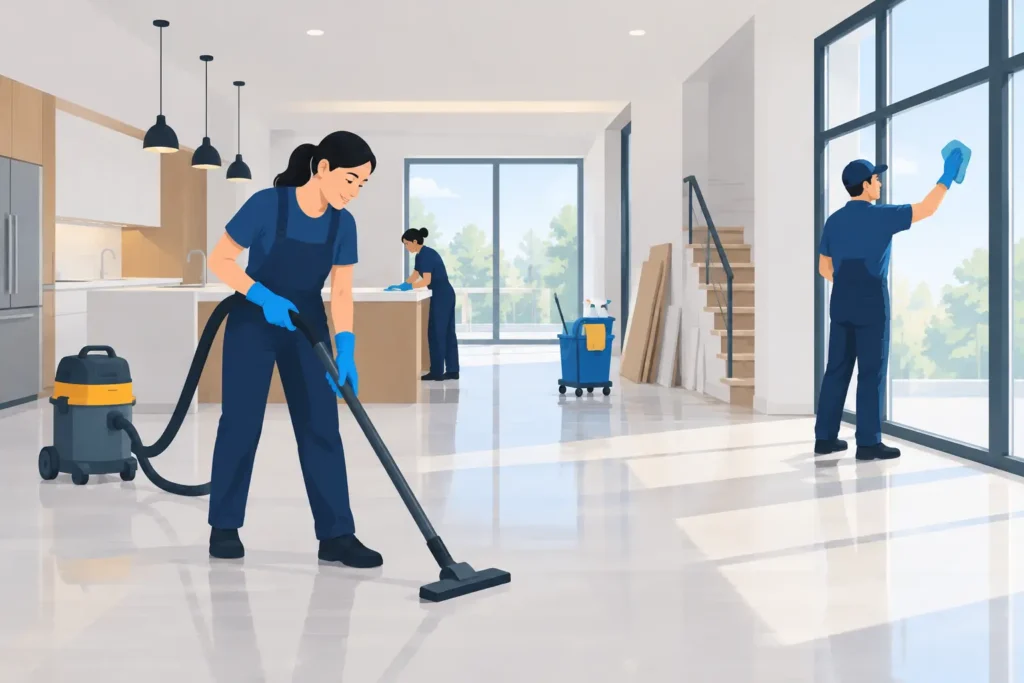
A renovation can look finished long before it is truly ready to use. Fine drywall dust settles inside cabinets, adhesive marks remain on glass, and construction debris can make an otherwise beautiful space feel unfinished. This post construction cleaning guide explains how to prepare a home, apartment, office, or retail space for a clean, healthy opening.
Post-construction cleaning is not the same as a standard cleaning visit. It requires the right sequence, close attention to surfaces, and enough time for dust to settle and be removed properly. Rushing the work can leave residue behind or damage new finishes that should last for years.
Start With a Safe, Work-Ready Space
Before cleaning begins, the contractor should have removed major materials, tools, nails, broken pieces, and waste. A cleaning crew can handle construction dust and leftover surface debris, but the site should be safe to walk through without hidden hazards.
Check that electricity, water, heating or air conditioning, and lighting are working where possible. Good lighting is especially important because dust, paint splatter, and smudges often show up only from certain angles. If a room is still being painted, grouted, caulked, or repaired, wait until that work is complete. Cleaning too early often means paying for the same area twice.
New materials may also need cure time. Fresh paint, grout, flooring finishes, and sealants can be sensitive to moisture or strong products. When there is any question, follow the installer’s care instructions before using cleaners on a newly finished surface.
The Post Construction Cleaning Guide: Work From High to Low
The most reliable approach is to clean from the highest point in the room downward. Dust does not stay where it first lands. When ceiling vents, light fixtures, trim, and walls are cleaned after the floor, they simply send more debris back onto the floor.
Begin with ceilings, vents, fans, upper shelving, and light fixtures. Move next to walls, doors, window frames, baseboards, cabinets, counters, and appliances. Finish with floors only after the rest of the room has been detailed. This order saves time and produces a noticeably better result.
Vacuuming is often more effective than dry sweeping for fine dust, particularly around trim, inside closets, and along floor edges. A vacuum with proper filtration helps capture particles instead of circulating them back into the air. After vacuuming, use clean microfiber cloths to wipe hard surfaces. Change cloths regularly so dust is picked up rather than spread around.
Do Not Forget Hidden Dust Zones
Construction dust has a way of reaching places that are easy to overlook. The inside of drawers and cabinets, closet shelves, air vents, window tracks, blinds, and the tops of door frames all need attention. In a commercial setting, also inspect reception desks, display shelving, break rooms, restrooms, and storage areas.
For occupied homes or businesses, HVAC filters deserve special attention. Renovation dust can quickly load a filter and affect indoor air quality. Replacing the filter after the project is complete can help protect the system and reduce lingering dust in the days ahead.
Remove Residue Without Damaging New Surfaces
A newly installed surface may look tough, but it is often vulnerable to the wrong cleaning method. Harsh abrasives can scratch glass, stainless steel, polished stone, finished wood, and new fixtures. Strong chemicals can dull flooring or affect grout and sealants.
The safest method is to identify the material first, then choose a cleaner that matches it. For example, glass may need a streak-free cleaner and a clean microfiber towel, while natural stone generally needs a pH-neutral product. Adhesive residue may require a specialty remover, but it should always be tested in an inconspicuous spot first.
Paint drips, stickers, tape residue, caulk marks, and grout haze are common after construction. Some are simple to remove, while others require careful scraping with the correct tool. Metal blades and aggressive scrub pads can turn a small cosmetic issue into permanent damage. When the material or finish is uncertain, professional cleaning is the safer choice.
Give Kitchens and Bathrooms Extra Attention
Kitchens and bathrooms need more than a quick wipe-down after a project. These are high-touch, high-moisture areas where dust and residue can collect in seams, fixtures, and storage spaces. They should be cleaned carefully before food, personal items, or supplies are put away.
In kitchens, clean the interior and exterior of cabinets, drawers, countertops, backsplashes, sinks, appliance exteriors, and handles. Check behind appliance doors and inside refrigerator or microwave cavities if they were installed during the renovation. Remove packaging, labels, and installation dust before the space is used.
In bathrooms, clean the vanity, mirrors, sink, toilet, shower or tub, hardware, tile, and floor edges. Look closely around fixtures and drains, where grout residue or fine dust can collect. A clean bathroom should look finished, smell fresh, and be ready for everyday use without another round of work.
Plan for More Than One Cleaning Phase
Large projects often benefit from a phased approach. The first phase is a rough clean after contractors finish their work. It removes larger debris, dust buildup, labels, and obvious residue so the final details are easier to see.
The second phase is the detailed cleaning most people expect before moving in or reopening. This is when glass is polished, floors are cleaned, cabinets are wiped inside and out, fixtures are detailed, and every room receives a final inspection.
A third touch-up may be worthwhile after furniture, inventory, or office equipment is moved in. Moving crews can bring in new dust, scuff floors, and leave packing materials behind. For a retail store, office, or apartment turnover, that final touch-up can make the difference between a space that is merely complete and one that feels ready for guests, customers, or tenants.
Know When Professional Cleaning Makes Sense
A small room refresh may be manageable for a homeowner with time, the right tools, and patience. A whole-home renovation, new office build-out, or commercial turnover is different. The volume of dust, the number of surfaces, and the need to protect expensive finishes can make professional help a practical investment.
A trained post-construction cleaning team brings a clear process, commercial-grade equipment, and the ability to inspect a space carefully. It also reduces the burden on property owners, contractors, and managers who already have move-in dates, opening schedules, or final walkthroughs to manage.
For New Jersey homeowners and business operators, JPR Cleaning provides dependable cleaning support for spaces that need to look their best after construction. Professionally trained staff can help create the clean, healthy, and polished environment your home or business deserves.
Complete a Final Walkthrough Before Moving In
Do one last walkthrough in daylight if possible. Open cabinets and drawers, look across floors from a low angle, inspect glass for smudges, and check corners, vents, and baseboards. Turn on lights and examine surfaces that may reveal dust or streaking under brighter conditions.
Make sure all trash has been removed and that no sharp debris remains in closets, on patios, or near entrances. If children, pets, employees, or customers will use the space right away, this final check is worth the extra few minutes.
A well-cleaned post-construction space lets the craftsmanship stand out. Once the dust, residue, and leftover debris are gone, you can focus on the reason for the project in the first place: enjoying a clean space that is ready to be lived in, worked in, or welcomed into.